| Make your own |
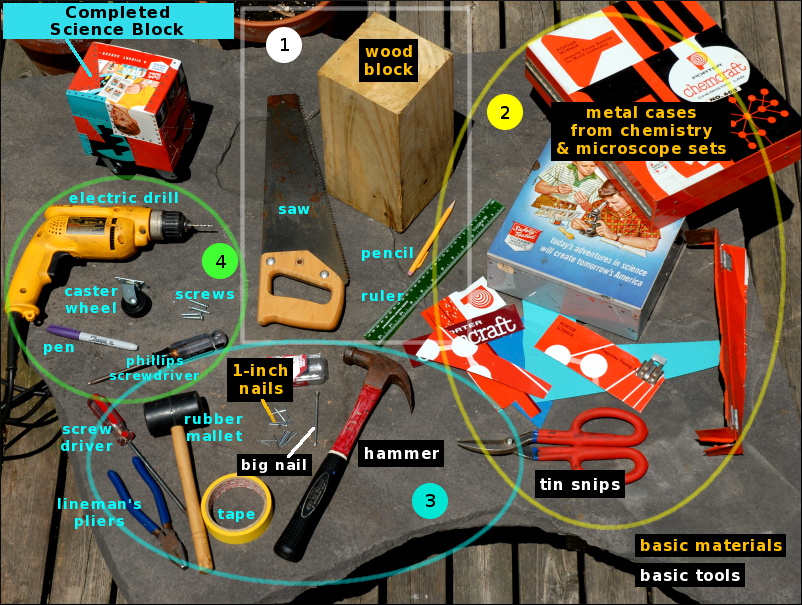 |
Basic materials: block of wood, old metal chemistry-set cases, and a lot of small nails.
Basic tools: tin snips, hammer, and big nail for making starter holes in the metal sheets. |
|
1. Get a wood block. I cut my blocks from a 6"x6"x8' square post I bought at Home Depot. Can be cut with a hand saw. |
|
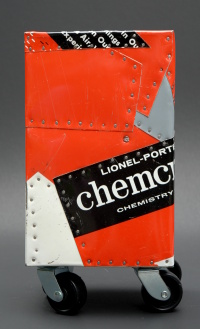
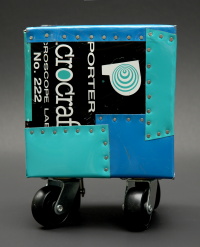
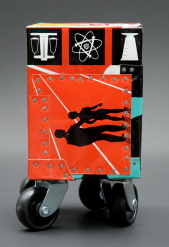
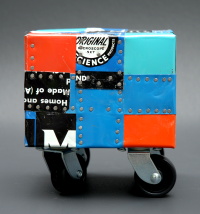
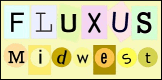
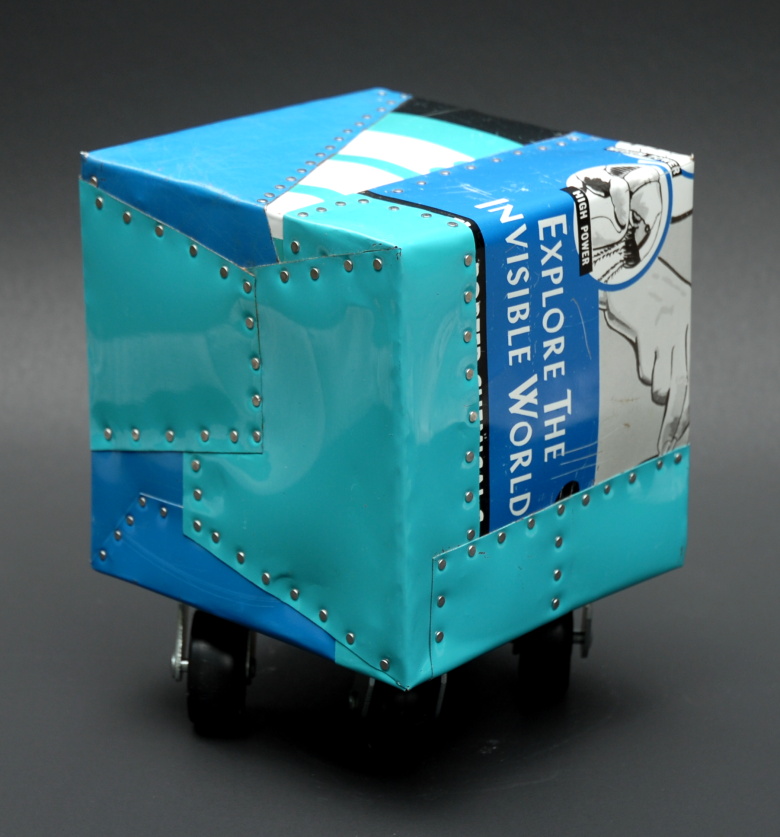
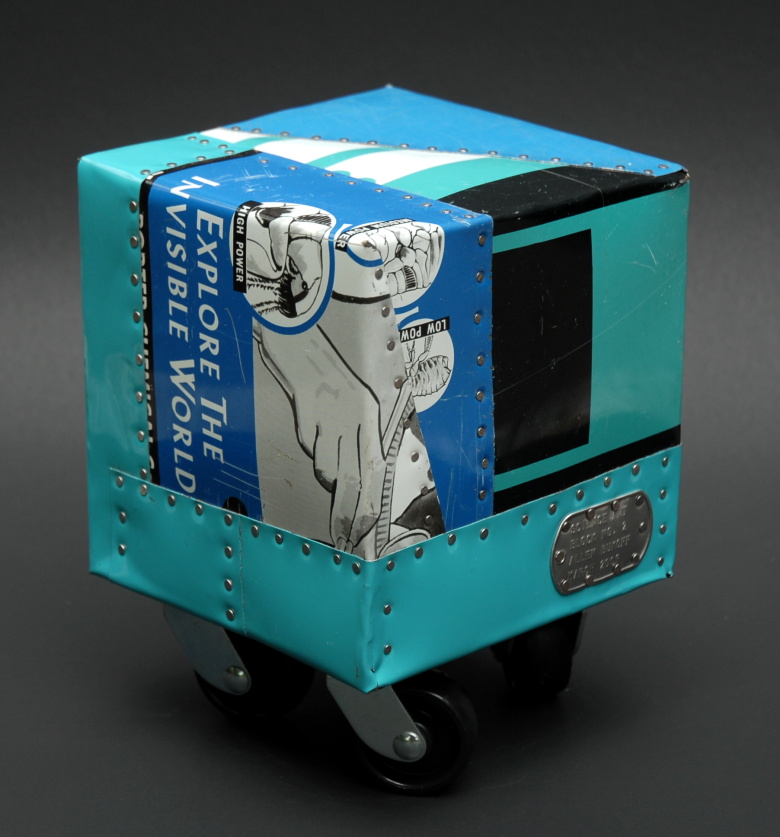
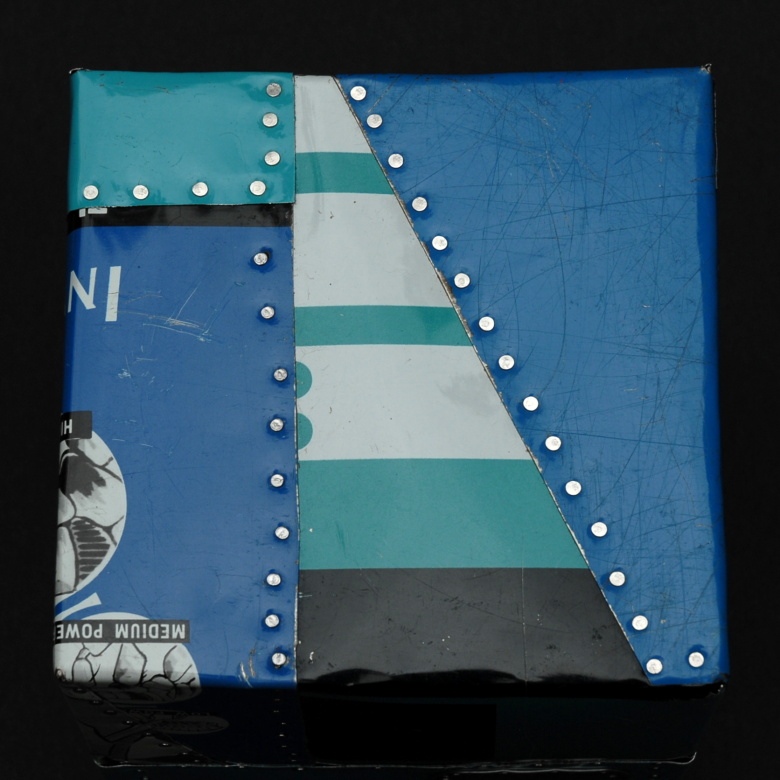
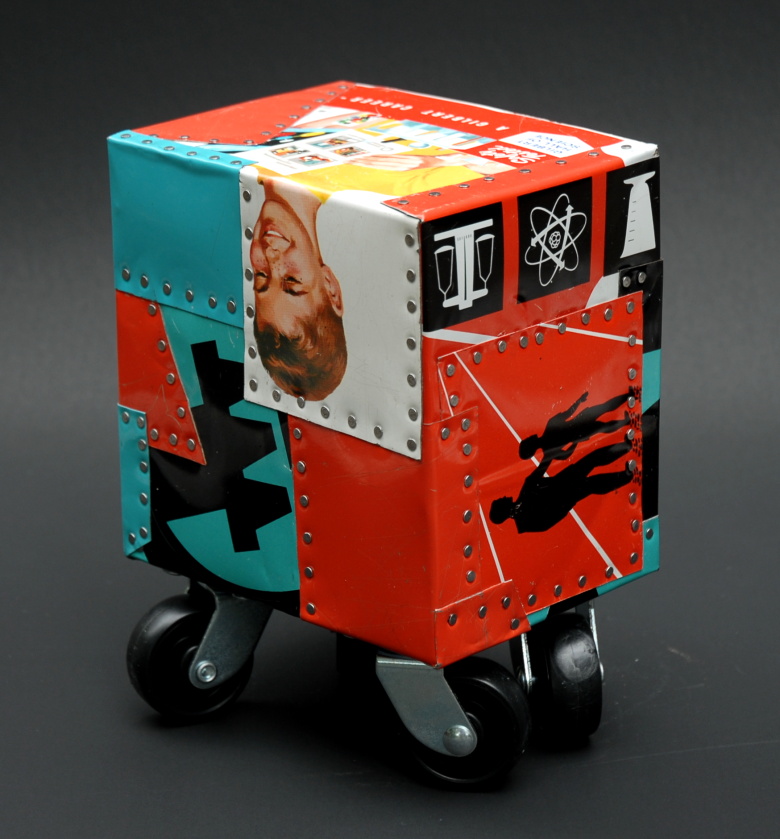
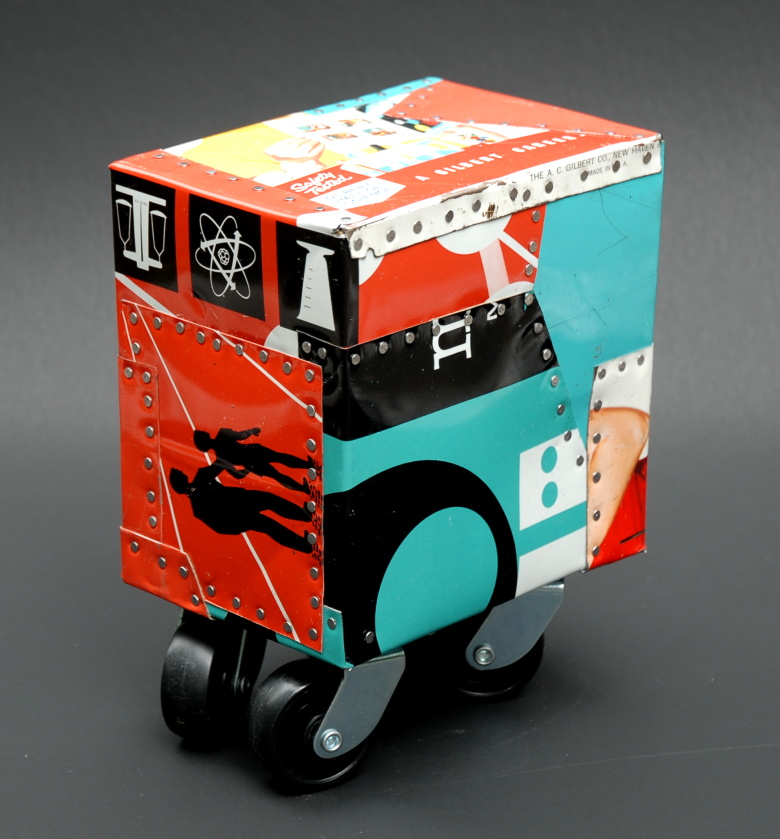
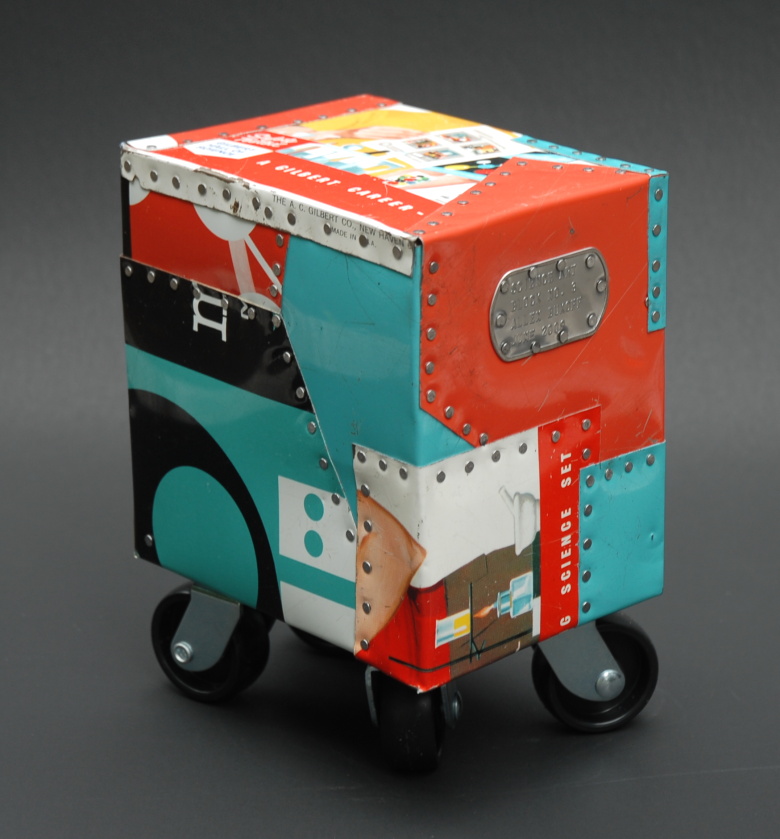
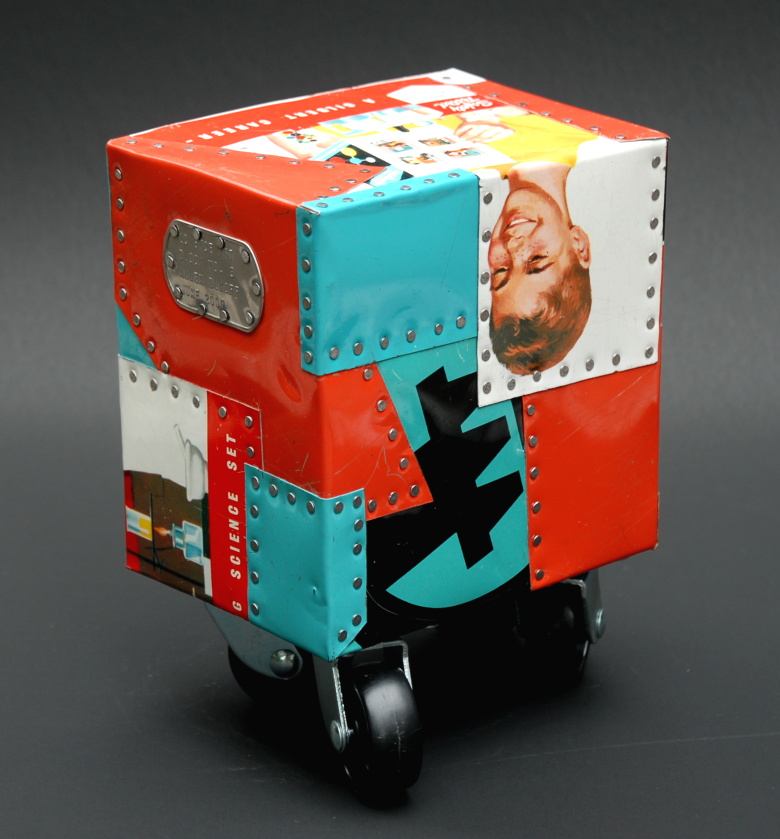
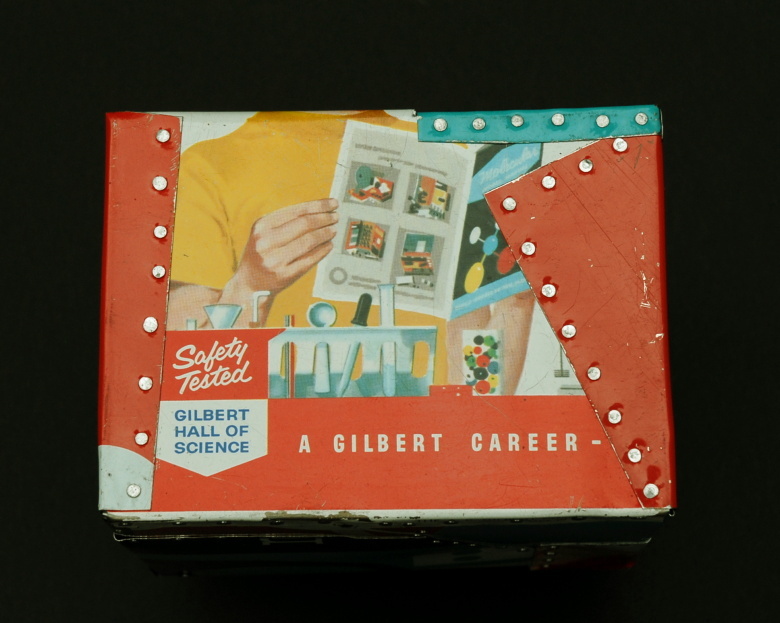
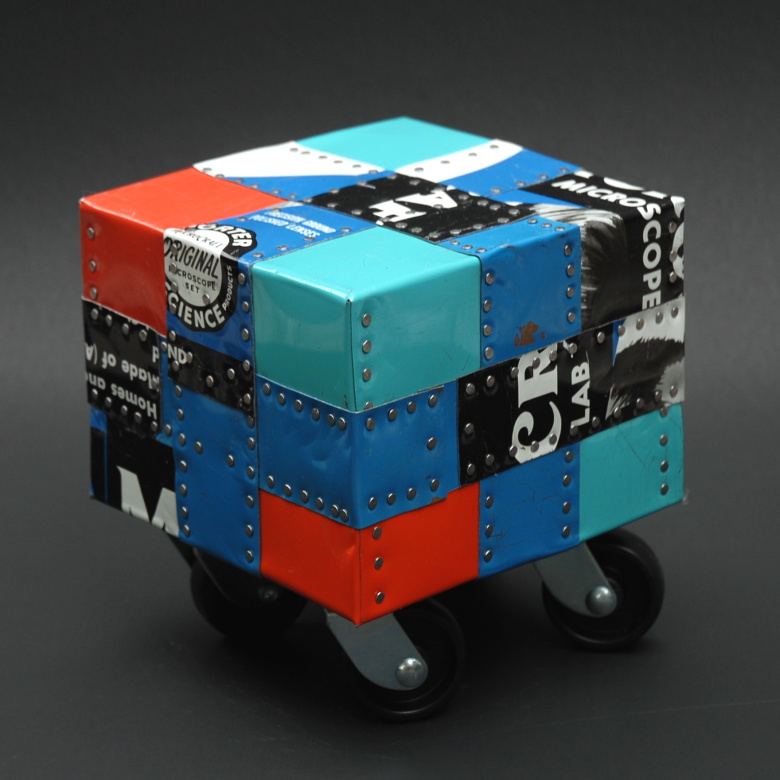
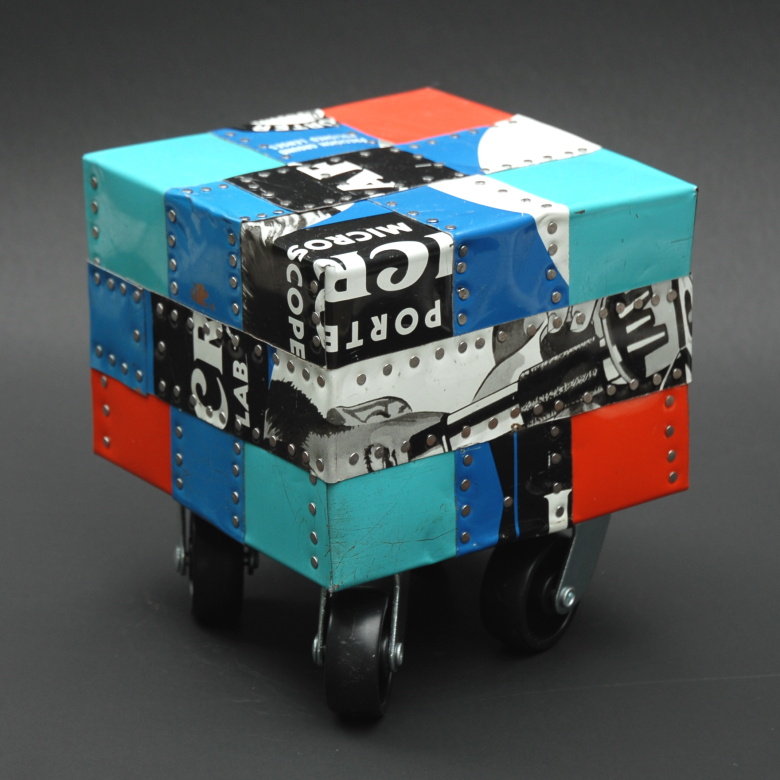
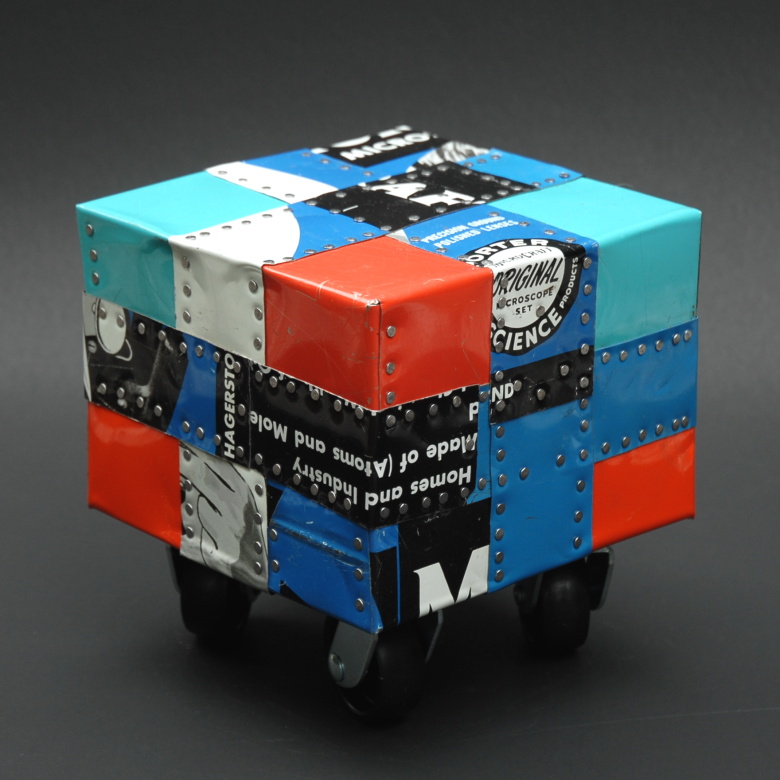
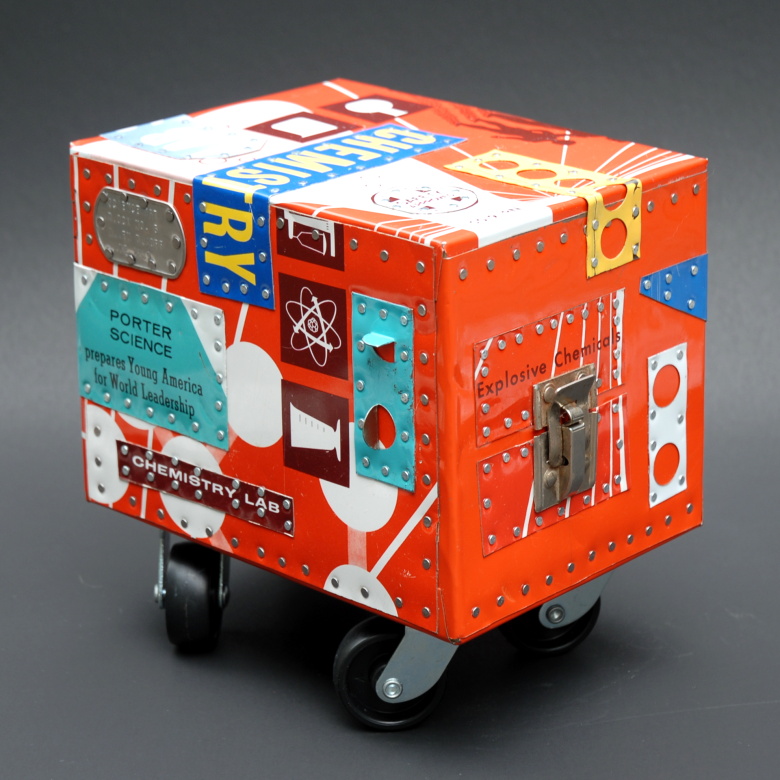
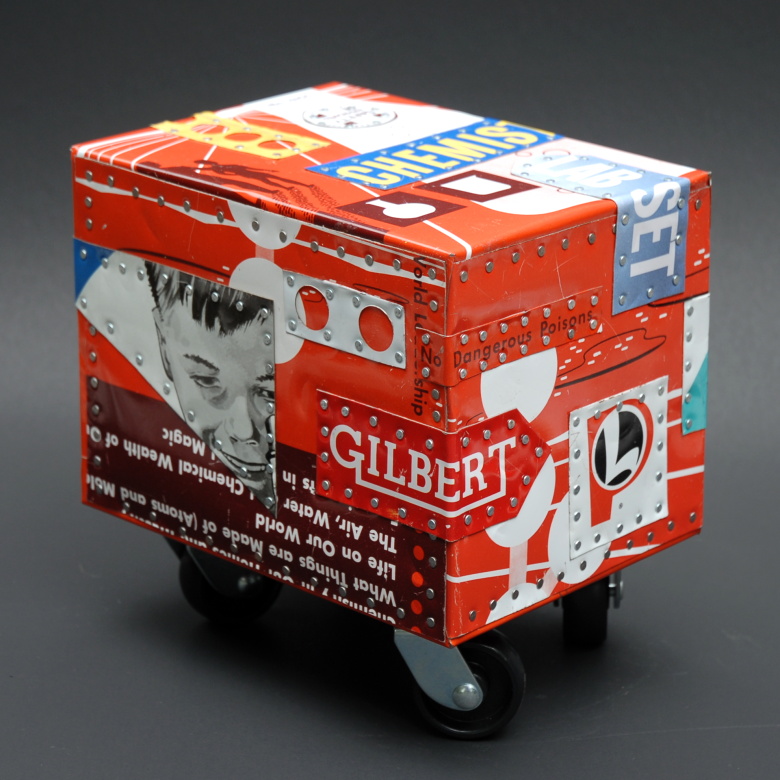
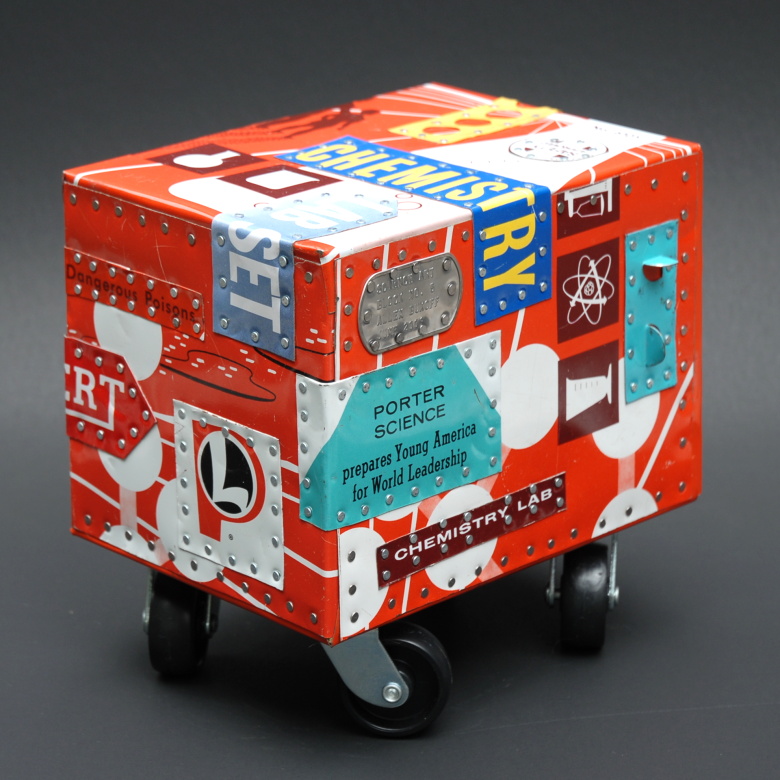
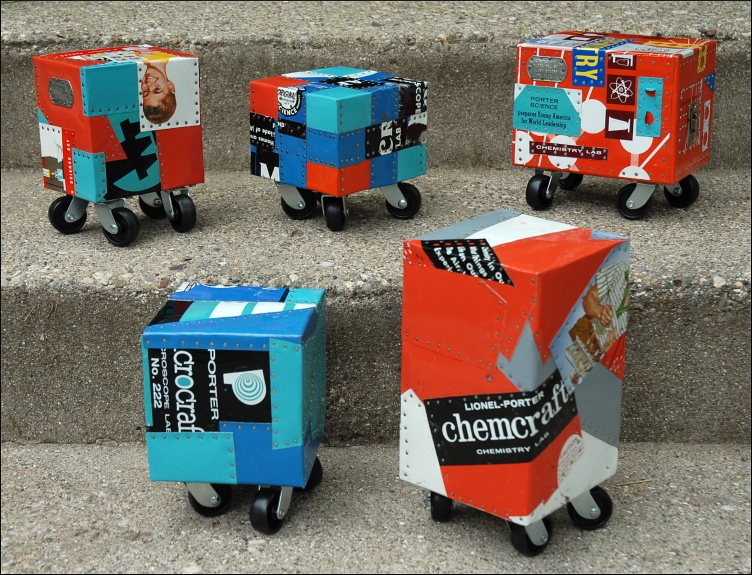
2. Cut-up some metal chemistry-set boxes. Find some of the old metal cases for the chemistry and microscope sets that were aimed at teenagers in the 1950s-60s. I like the enameled steel cases from this period--the ones with "heroic" science graphics and also probably because these are the ones my friends and I had. I bought the cases I used for this project on eBay. Use tin snips to cut up these old metal boxes into the sizes and shapes you'd like to use.
This was physically the hardest part of the project--cutting through the rolled edges, corners and overlapping pieces was sometimes difficult. To avoid cutting yourself on the various ragged metal edges, I would recommend wearing some leather gloves while doing this. Cutting for me was a two stage process: 1. cutting out the sides of the cases, then 2. cutting these larger side-sheets into the smaller pieces & strips I wanted to use. |
|
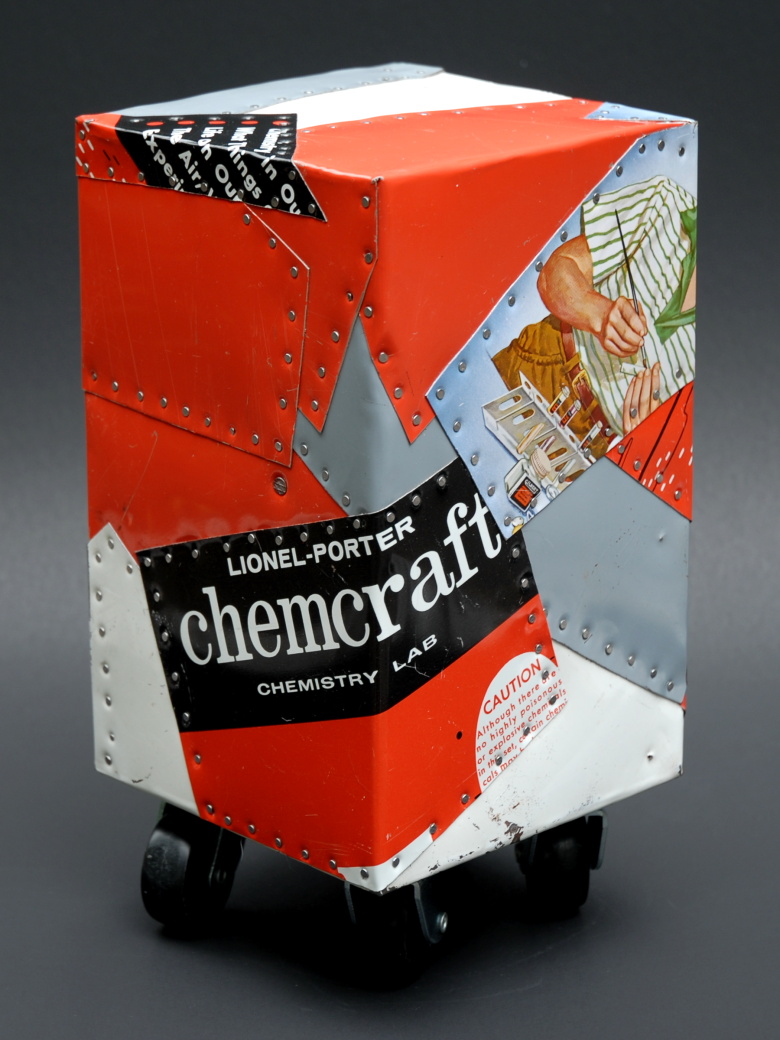
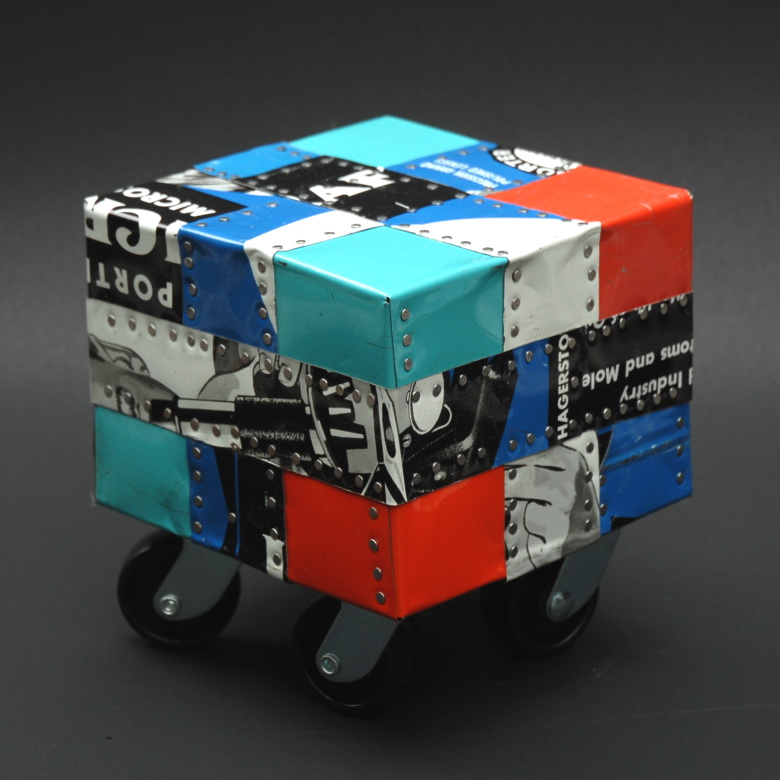
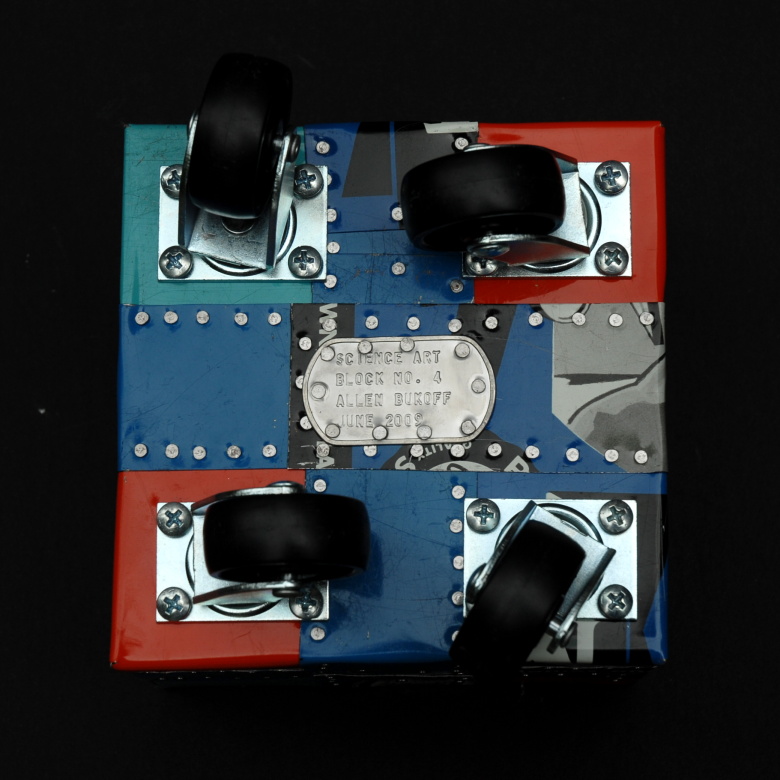
3. Nail the metal strips on the wooden block. Use a couple of nails to anchor one of the cut pieces of metal to the block. Then anchor some more pieces. Then cut some more pieces. Bend pieces around corners as necessary (I sometimes used a rubber hammer to help me do this). I made mine so that every piece overlapped another piece and all the wood was covered. You may have other preferences or design ideas.
I used a big steel nail with a sharp point to make a "starter hole" wherever I wanted to put a nail through the metal--just enough of a dent or hole to go through two or more layers of the overlapping metal. This "starter hole" helped me hammer in the many small nails I used without bending too many of them in the process. I used a lot of closely-spaced nails along all the metal seams. I did this because I liked the "riveted" look. You may have other preferences and need fewer nails than I used. |
|
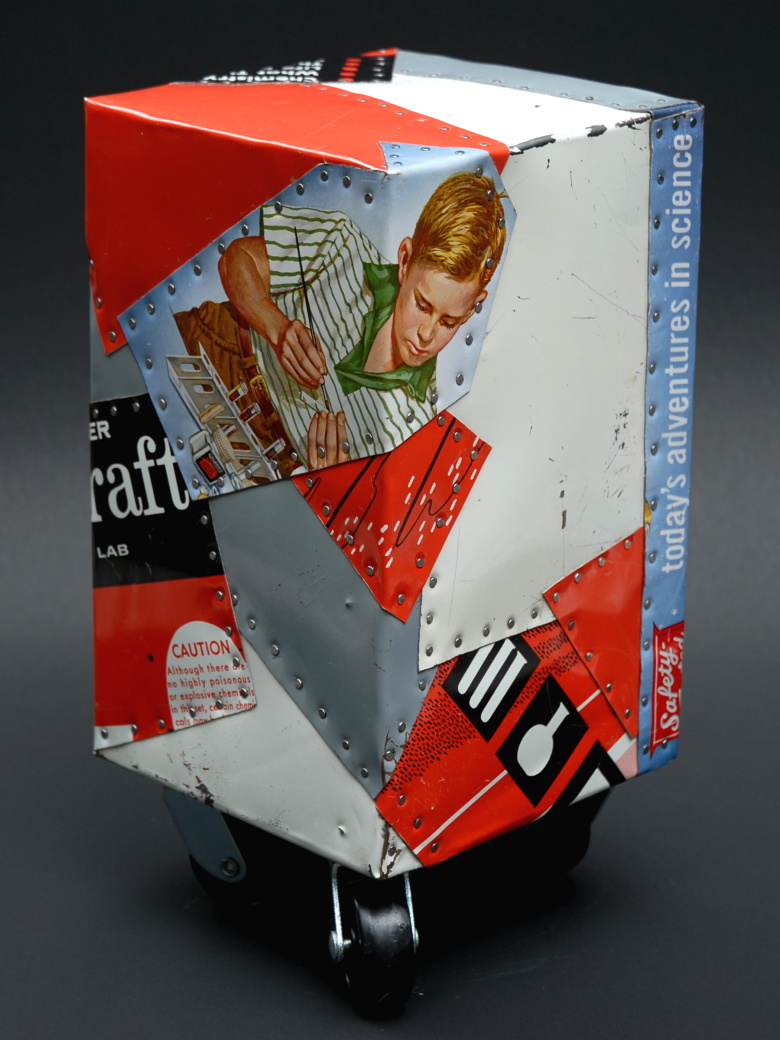
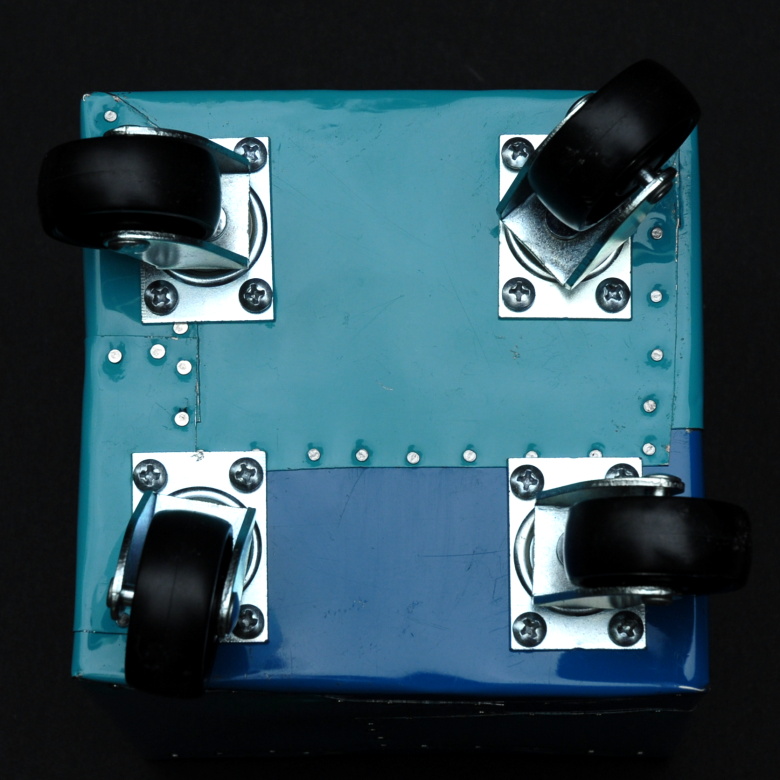
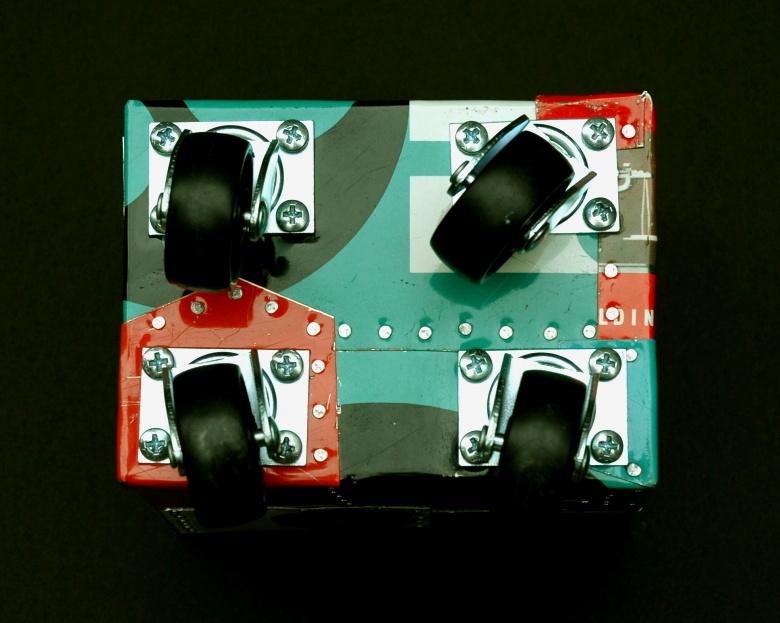
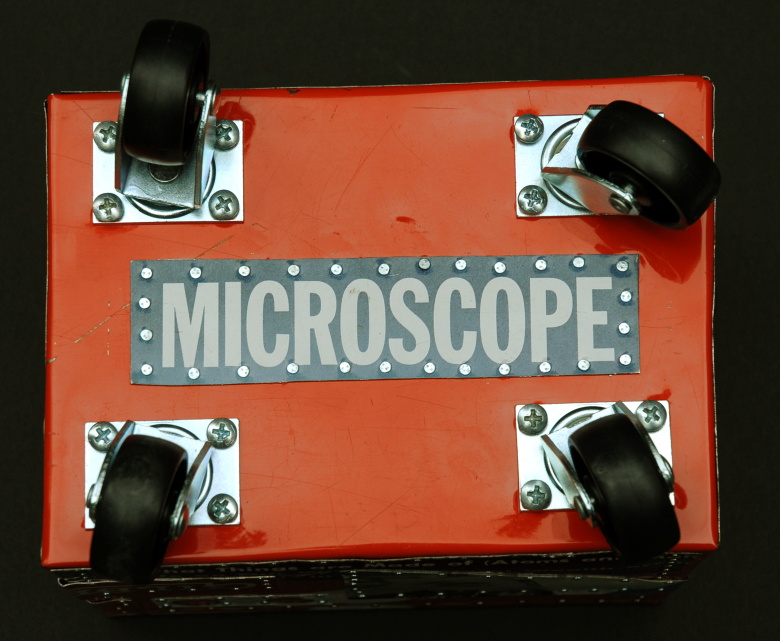
4. Add casters. This is optional--you may not want to add any feet or other base to your own block. If you do want to add rolling casters, like I did, then get some casters whose size will work (i.e., not too big and not too small). I bought mine at Home Depot. I mounted the casters using a drill and Phillips screws. |